Tissue Modeling From MRI Scans
"3D-DOCTOR Software has been one of the tremendous analysis software that I use on a regular bases to extract information from image files to create 3D model.", A. Udoh, R&D Design Systems
Step 1. Open Image | 
Step 2. Segmentation | 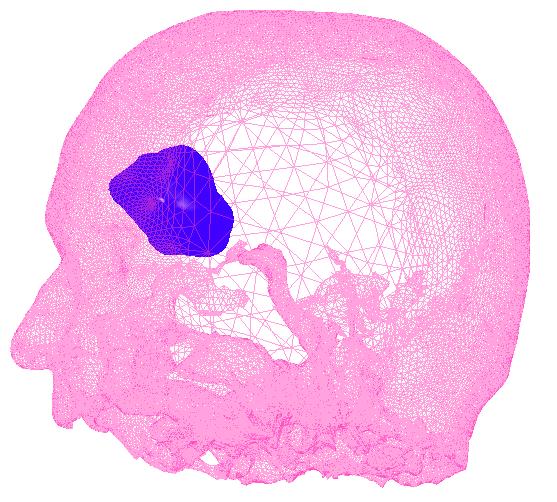
Step 3: Creating 3D Mesh Model |
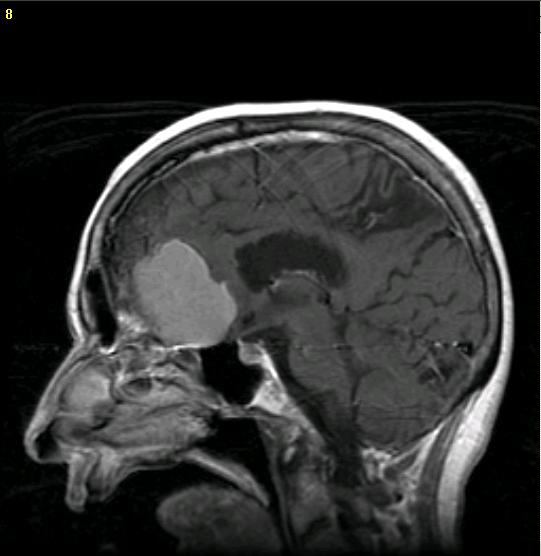
Magnetic resonance imaging (MRI) produces high quality images of the human body.
A 3D mesh model can be created from a MRI image in 3 main steps:
Step 1. Open the MRI image.
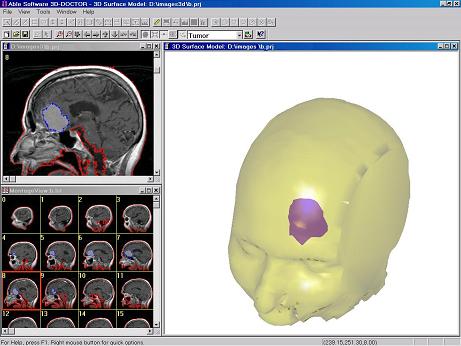
Step 2. Image segmentation to generate object boundaries. This can be done using either the "Automatic Segmentation" or the region-based semi-automatic "Segment Object" command. Threshold-based segmentation method is normally not effective for MRI image. For small size soft tissues, the manual tracing method can be used as well. Boundaries can be edited using the boundary editor.
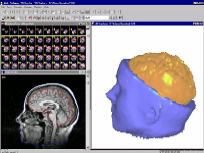
Step 3. Creating mesh models using the surface rendering command. The models can be used for volume calculation, rapid prototyping, simulation or treatment planning applications.
 |  |  |